
Lesson plan
A practical lesson plan for fade guideline placement
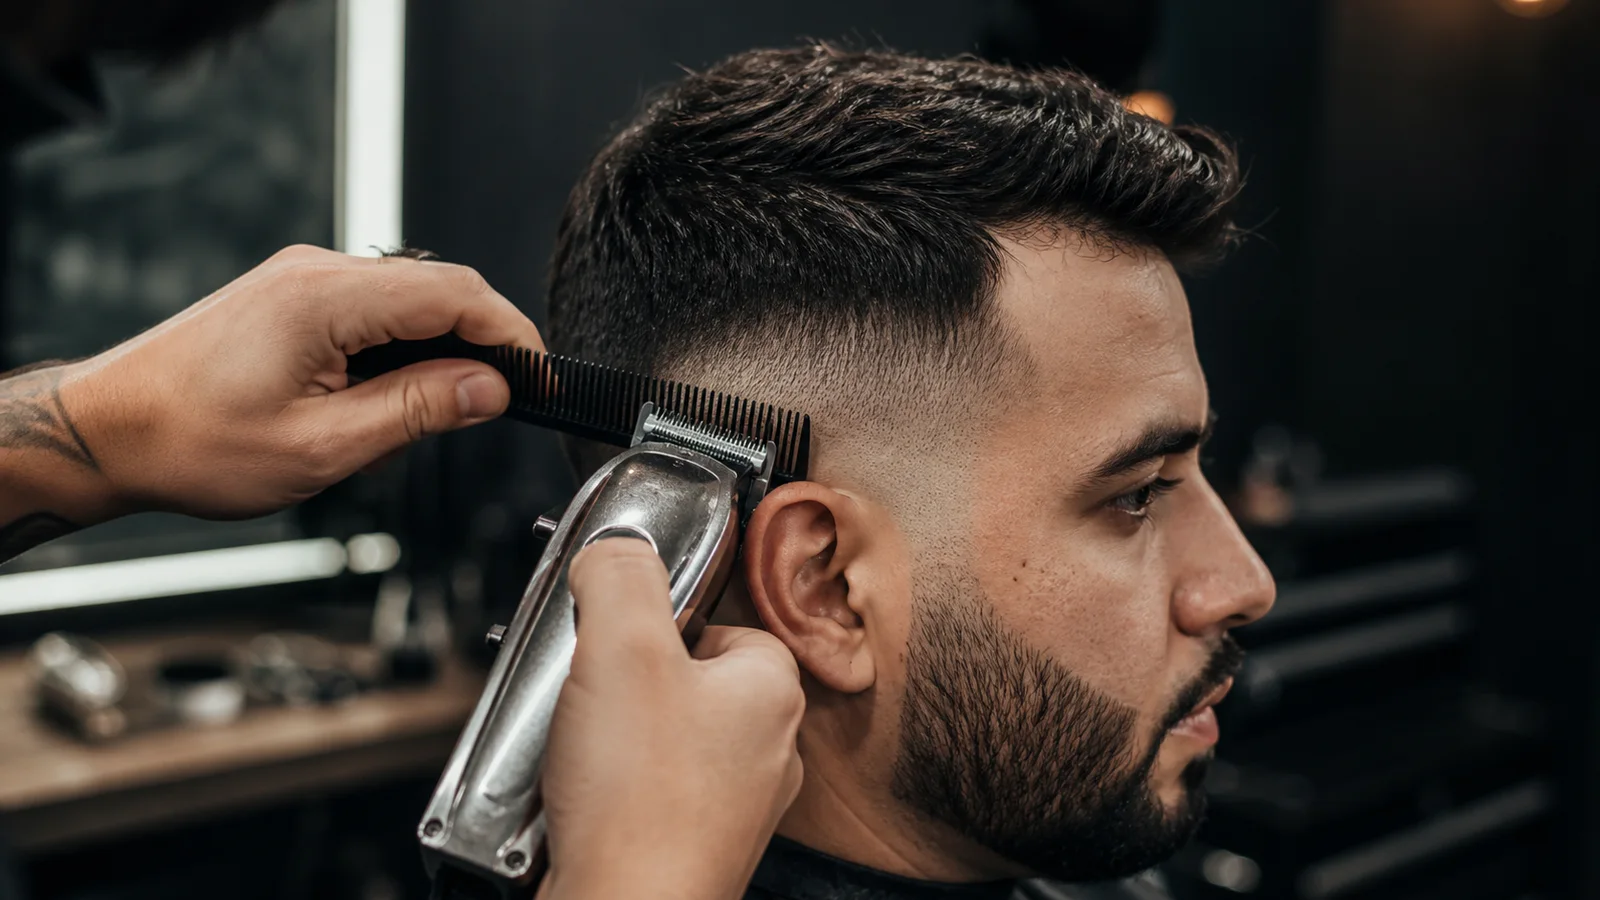
Guidelines organise a fade into manageable zones and determine how much room is available for each transition. The goal is to place balanced, narrow guides that respect head shape and leave enough space to blend without chasing the fade upward.
Quick answer
What to remember.
- The goal is to place balanced, narrow guides that respect head shape and leave enough space to blend without chasing the fade upward.
- Agree on the lowest point and overall silhouette first.
- Use skin-safe marking products only when appropriate and obtain model consent before applying anything to skin or hair.
- Balanced guideline placement makes the agreed fade height and profile more predictable.
Set one observable lesson outcome
Guidelines organise a fade into manageable zones and determine how much room is available for each transition. The goal is to place balanced, narrow guides that respect head shape and leave enough space to blend without chasing the fade upward.
Write the outcome as something a trainer can see or hear. Avoid goals such as “understand it better”; name the movement, decision, sequence or finished feature the learner should reproduce.
Demonstrate the decision as well as the action
The trainer should name what they are looking at, which option they choose and how they will know when to stop. The learner then repeats the decision before copying the movement.
- Agree on the lowest point and overall silhouette first.
- Use landmarks to compare left and right placement.
- Keep each working band narrow and visible.
- Check the rear shape from more than one viewing height.
Move from guided to independent practice
Begin with this controlled exercise: Draw the intended guideline on a head sheet, then place a washable visual guide on a mannequin and photograph it from front, side and rear before cutting.
Watch specifically for Placing the first line before confirming the final shape.; Making a band wider behind the ear than at the temple.; Raising one side repeatedly while trying to match the other.. Correct one cause at a time so the learner can connect the change with the result.
Close with evidence and a next action
Use skin-safe marking products only when appropriate and obtain model consent before applying anything to skin or hair. End the lesson by recording one success, one priority and the exact condition for the next attempt.
- The guide reads level or intentionally shaped from all views.
- Working bands remain narrow enough to control.
- The final blend does not drift above the planned silhouette.
Sydney training context
How this topic fits into Sydney barber school training
If you are comparing a Sydney barber school, use a practical lesson plan for fade guideline placement as a concrete quality check. Ask how this clippers, fades & tapers subject is demonstrated, practised, corrected and assessed before you enrol.
The phrase “best barber school” is not an objective accreditation or a guaranteed outcome. The best choice for someone who wants to learn practical barbering skills depends on program status, supervised practice, trainer feedback, safety, total cost and fit with their intended pathway.
People searching for a barber course in Sydney should compare the written curriculum, training status, supervised floor time, class size, total cost and next pathway—not only the headline duration.
For a transparent example, review The Guild's private barber training program in Sydney, including its curriculum, A$5,000 fee and non-accredited status.
The Guild
Build the skill through corrected repetition.
Explore The Guild’s private 12-week curriculum and see how practical lessons, feedback and supervised training fit together.
View the curriculum →