
Lesson plan
A practical lesson plan for fade blending
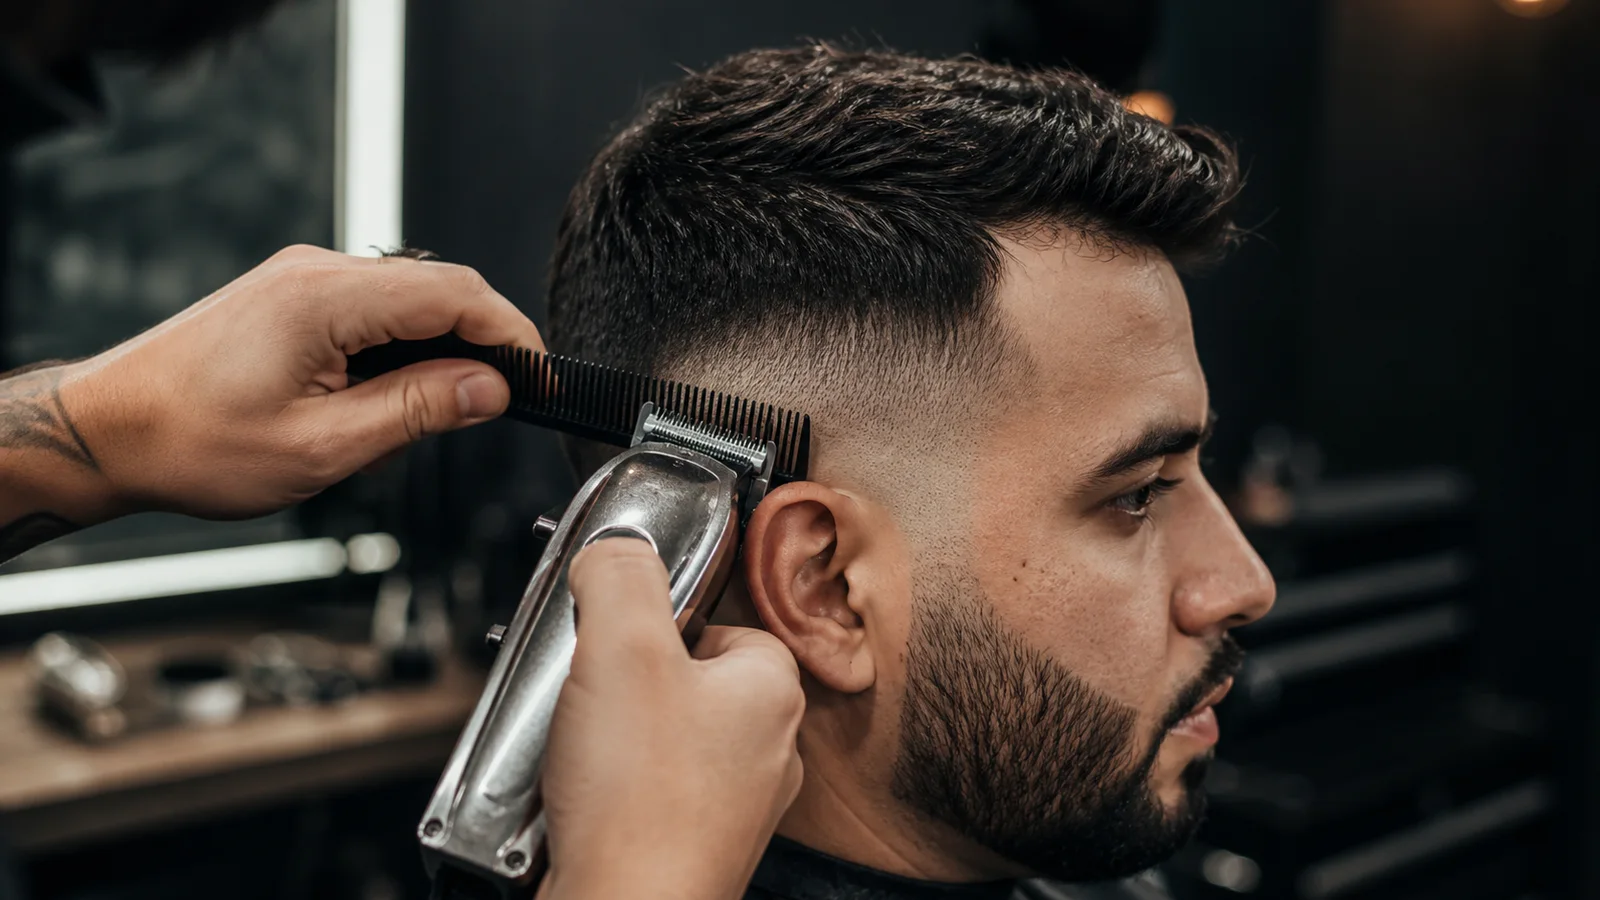
Fade blending removes visible transitions while preserving a deliberate shape, weight distribution and connection to the top. The goal is to diagnose the length causing a shadow, choose the matching tool setting and stop when the transition is resolved.
Quick answer
What to remember.
- The goal is to diagnose the length causing a shadow, choose the matching tool setting and stop when the transition is resolved.
- Identify whether a mark is a line, shadow, weight pocket or lighting effect.
- Limit repeated friction in one area and stop if the skin becomes irritated or uncomfortable.
- A controlled blend looks cleaner as it grows and avoids unnecessary removal above the agreed fade height.
Set one observable lesson outcome
Fade blending removes visible transitions while preserving a deliberate shape, weight distribution and connection to the top. The goal is to diagnose the length causing a shadow, choose the matching tool setting and stop when the transition is resolved.
Write the outcome as something a trainer can see or hear. Avoid goals such as “understand it better”; name the movement, decision, sequence or finished feature the learner should reproduce.
Demonstrate the decision as well as the action
The trainer should name what they are looking at, which option they choose and how they will know when to stop. The learner then repeats the decision before copying the movement.
- Identify whether a mark is a line, shadow, weight pocket or lighting effect.
- Work from known lengths toward the uncertain area.
- Use corner work for local corrections.
- Step back regularly to read the complete silhouette.
Move from guided to independent practice
Begin with this controlled exercise: Photograph a practice fade under consistent light, mark three transition zones, state the diagnosis and tool choice for each, then compare the after image.
Watch specifically for Attacking every dark area with the shortest setting.; Blending continuously without stepping back.; Confusing natural density or lighting with remaining weight.. Correct one cause at a time so the learner can connect the change with the result.
Close with evidence and a next action
Limit repeated friction in one area and stop if the skin becomes irritated or uncomfortable. End the lesson by recording one success, one priority and the exact condition for the next attempt.
- Transitions read smoothly in more than one light direction.
- Corrections become smaller as the blend develops.
- The planned top connection and profile remain intact.
Sydney training context
How this topic fits into Sydney barber school training
When reviewing a Sydney barber school, turn a practical lesson plan for fade blending into a provider question rather than accepting a broad promise. Find out who teaches it, how often students repeat it and how the result is reviewed.
The phrase “best barber school” is not an objective accreditation or a guaranteed outcome. The best choice for someone who wants to learn practical barbering skills depends on program status, supervised practice, trainer feedback, safety, total cost and fit with their intended pathway.
A barber academy in Sydney should describe its program status honestly, explain its safety boundaries and show how trainer feedback changes a learner’s next attempt.
For a transparent example, review The Guild's private barber training program in Sydney, including its curriculum, A$5,000 fee and non-accredited status.
The Guild
Build the skill through corrected repetition.
Explore The Guild’s private 12-week curriculum and see how practical lessons, feedback and supervised training fit together.
View the curriculum →